提交工单
咨询集成、功能及报价等问题
podfile: pod initPodfile file to add the basic dependency:pod 'ZegoUIKitPrebuiltVideoConference'pod installimport ZegoUIKit
import ZegoUIKitPrebuiltVideoConference
// YourViewController.swift
class ViewController: UIViewController {
//Other code...
}appID and appSign of your project.userID and userName for connecting the Video Conference Kit service. conferenceID that represents the conference you want to start. userID and conferenceID can only contain numbers, letters, and underlines (_). conferenceID will enter the same video conference.class ViewController: UIViewController {
var userID: String = <#UserID#>
var userName: String = <#UserName#>
var conferenceID: String = <#ConferenceID#>
@IBAction func enterMeeting(_ sender: Any) {
let config: ZegoUIKitPrebuiltVideoConferenceConfig = ZegoUIKitPrebuiltVideoConferenceConfig()
let videoConferenceVC: ZegoUIKitPrebuiltVideoConferenceVC = ZegoUIKitPrebuiltVideoConferenceVC.init(appID, appSign: appSign, userID: userID, userName: userName, conferenceID: conferenceID, config: config)
videoConferenceVC.modalPresentationStyle = .fullScreen
self.present(videoConferenceVC, animated: true, completion: nil)
}
}Then, you can start a video conference by presenting the VC.
Open the Info.plist, add the following code inside the dict part:
<key>NSCameraUsageDescription</key>
<string>Access permission to camera is required.</string>
<key>NSMicrophoneUsageDescription</key>
<string>Access permission to microphone is required.</string>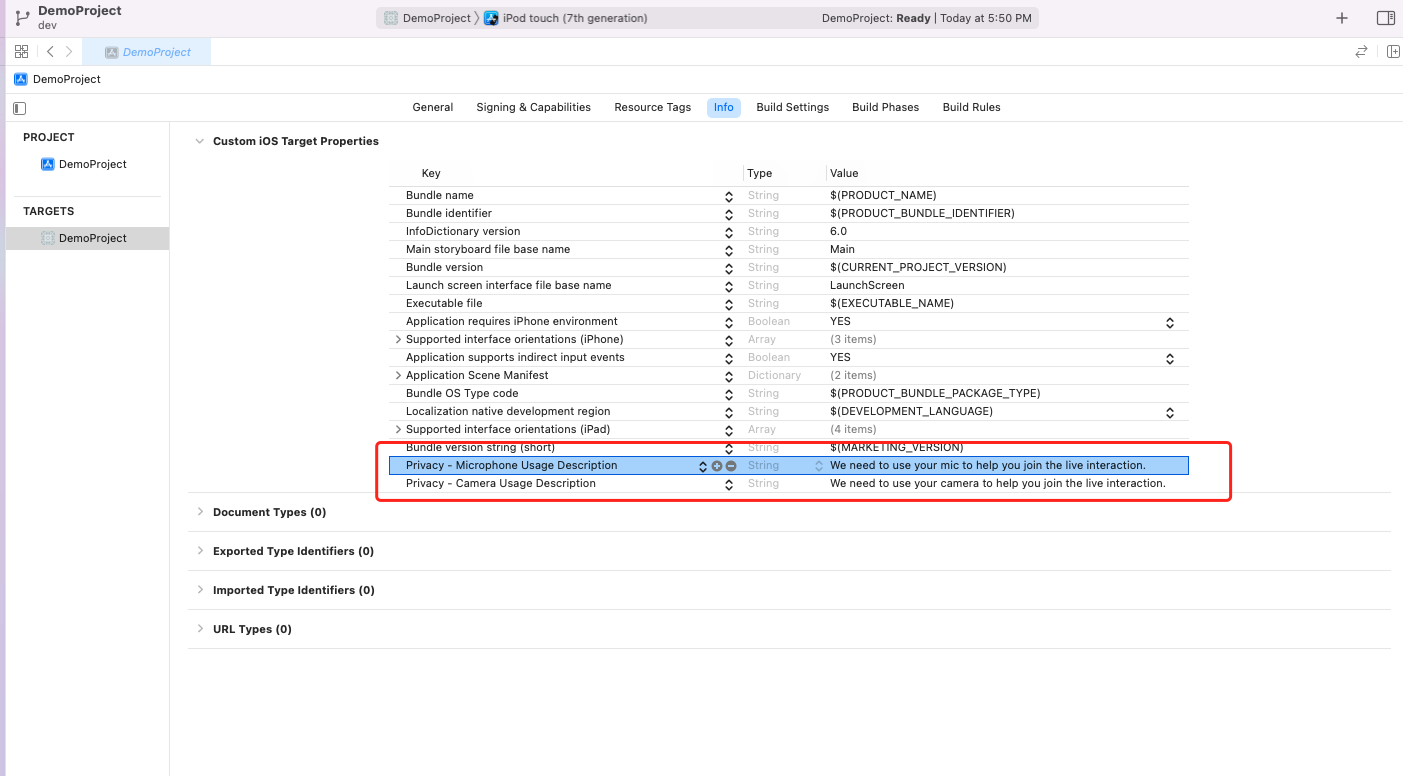)
Now you have finished all the steps!
You can simply click the Run in XCode to run and test your App on your device.
