提交工单
咨询集成、功能及报价等问题
This doc will introduce how to implement the co-hosting feature in the live streaming scenario.
Before you begin, make sure you complete the following:
)
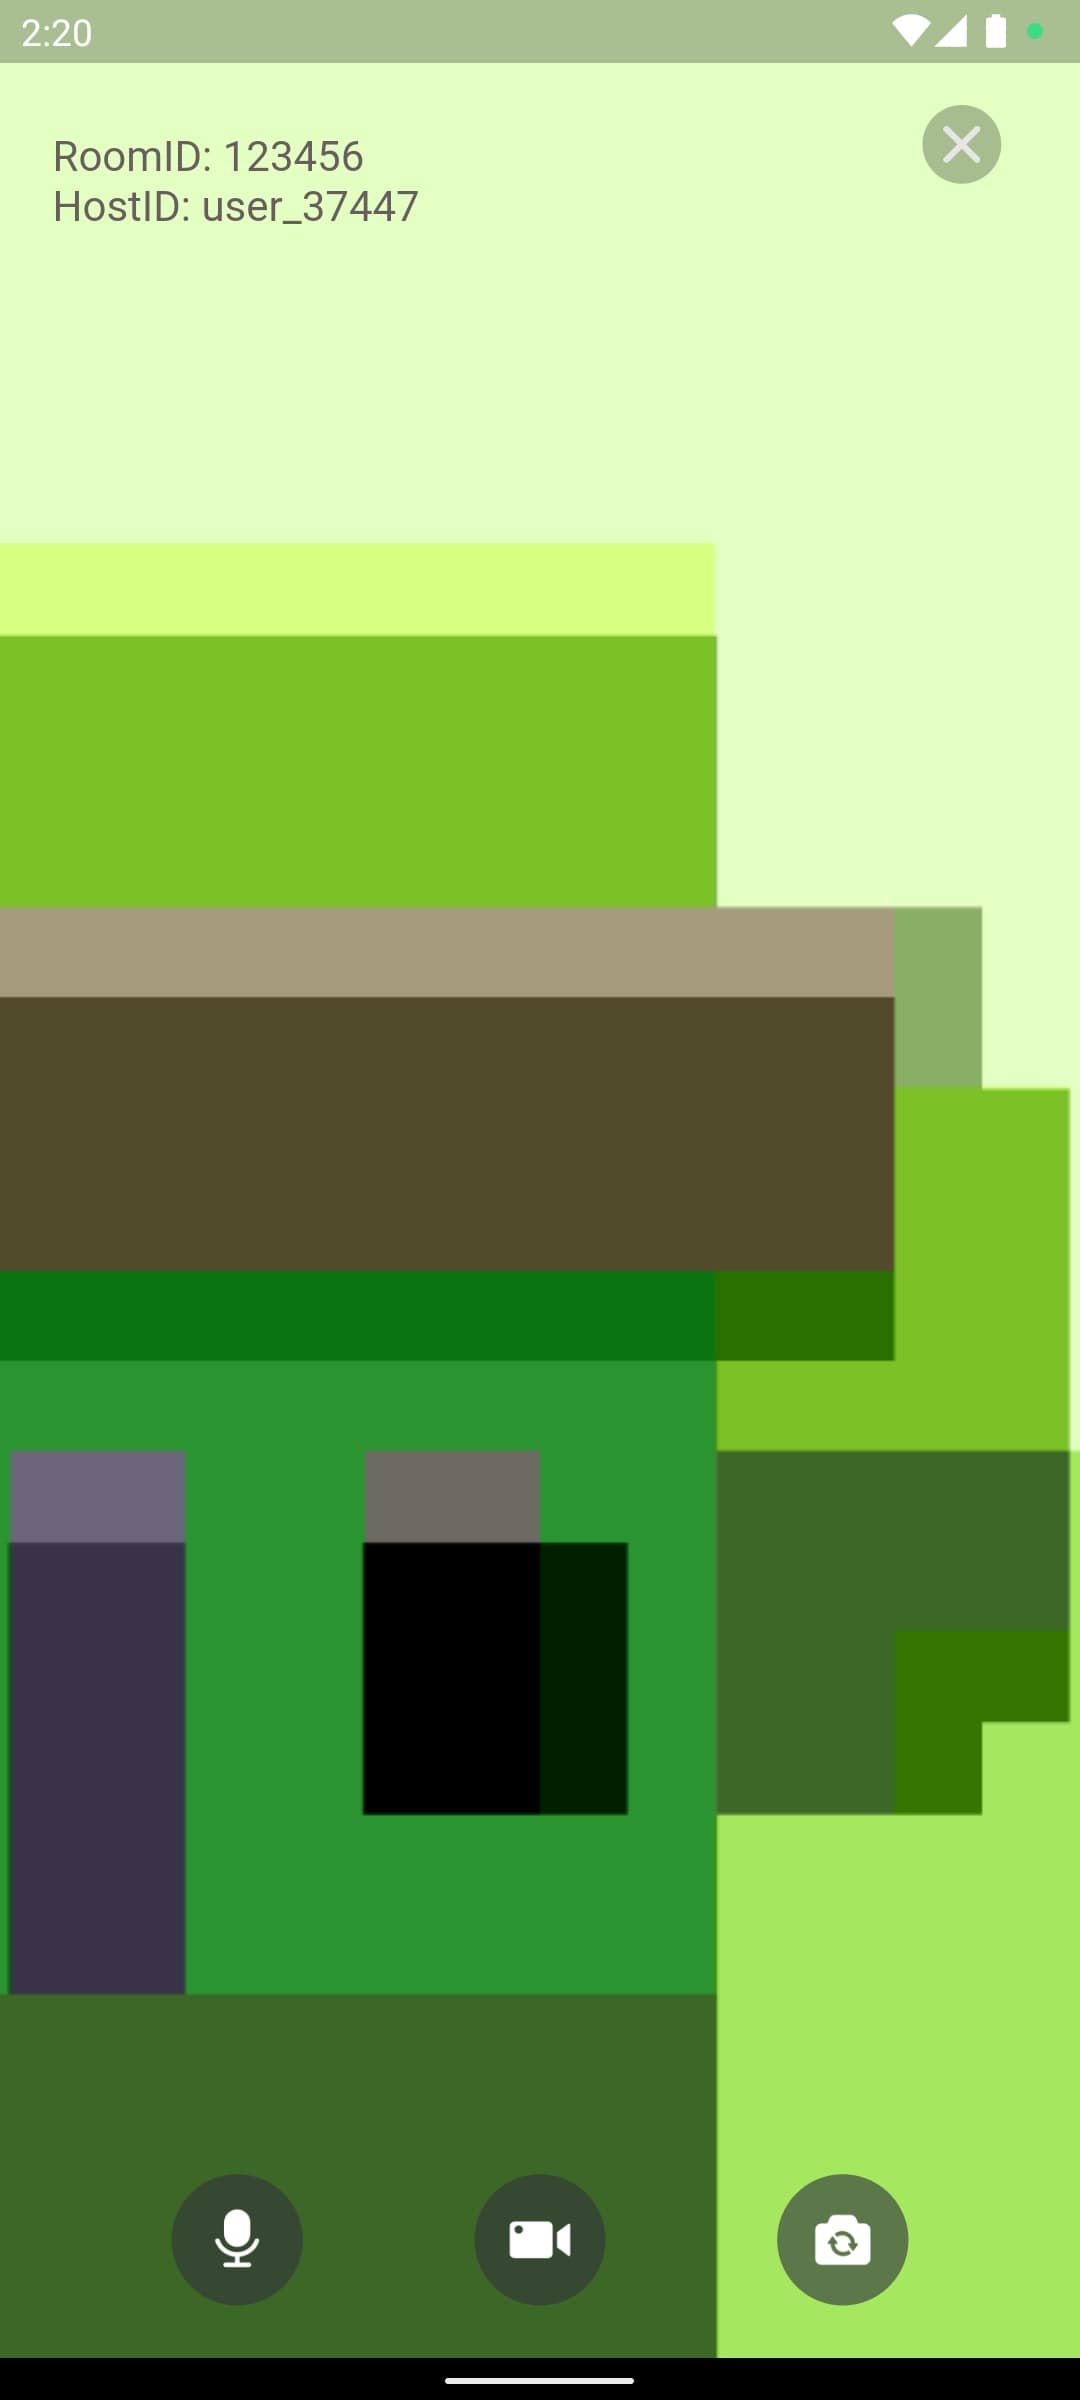
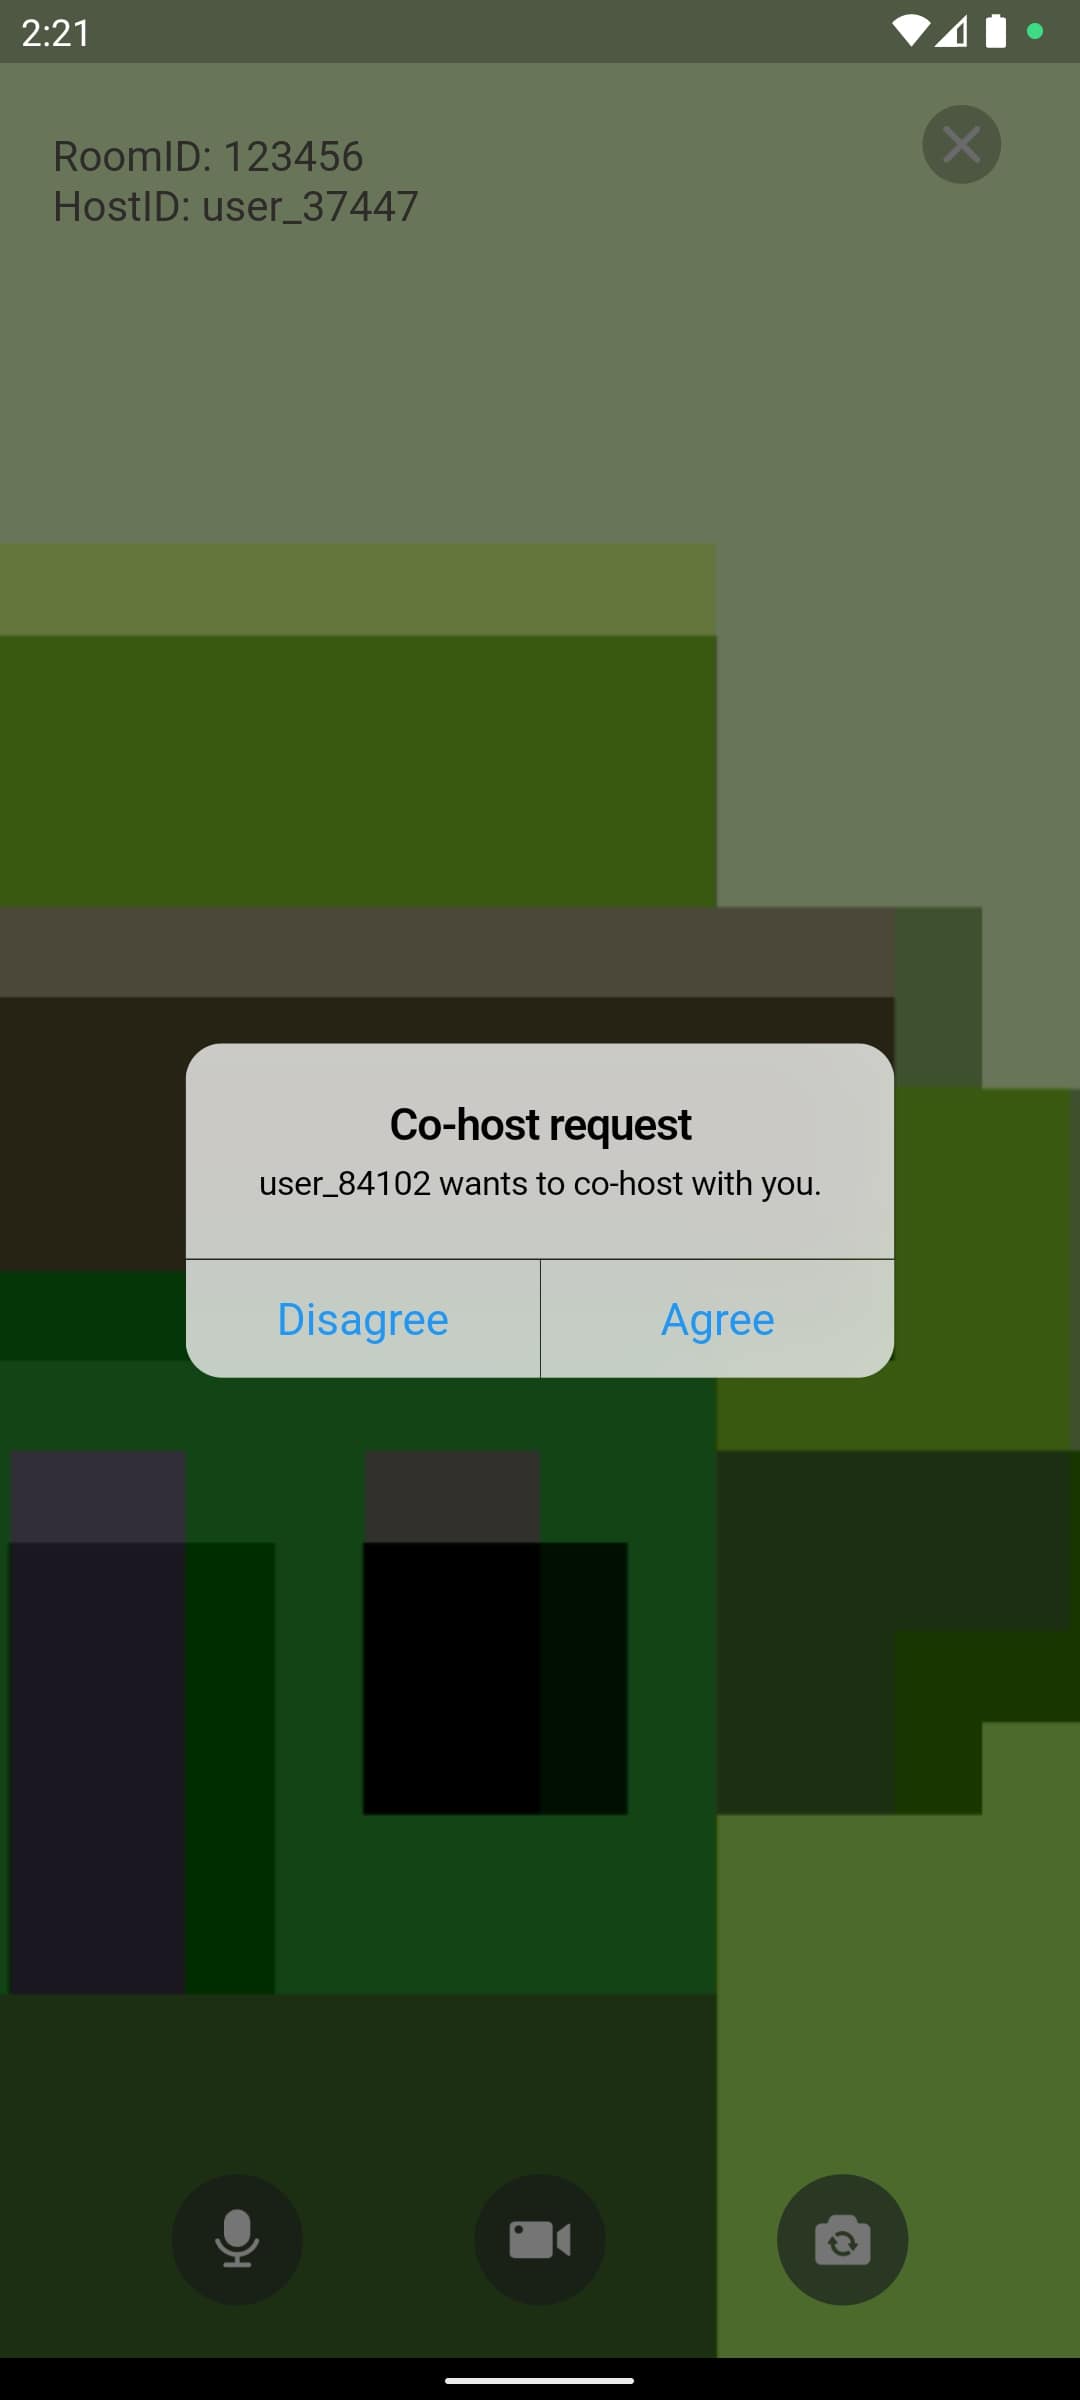
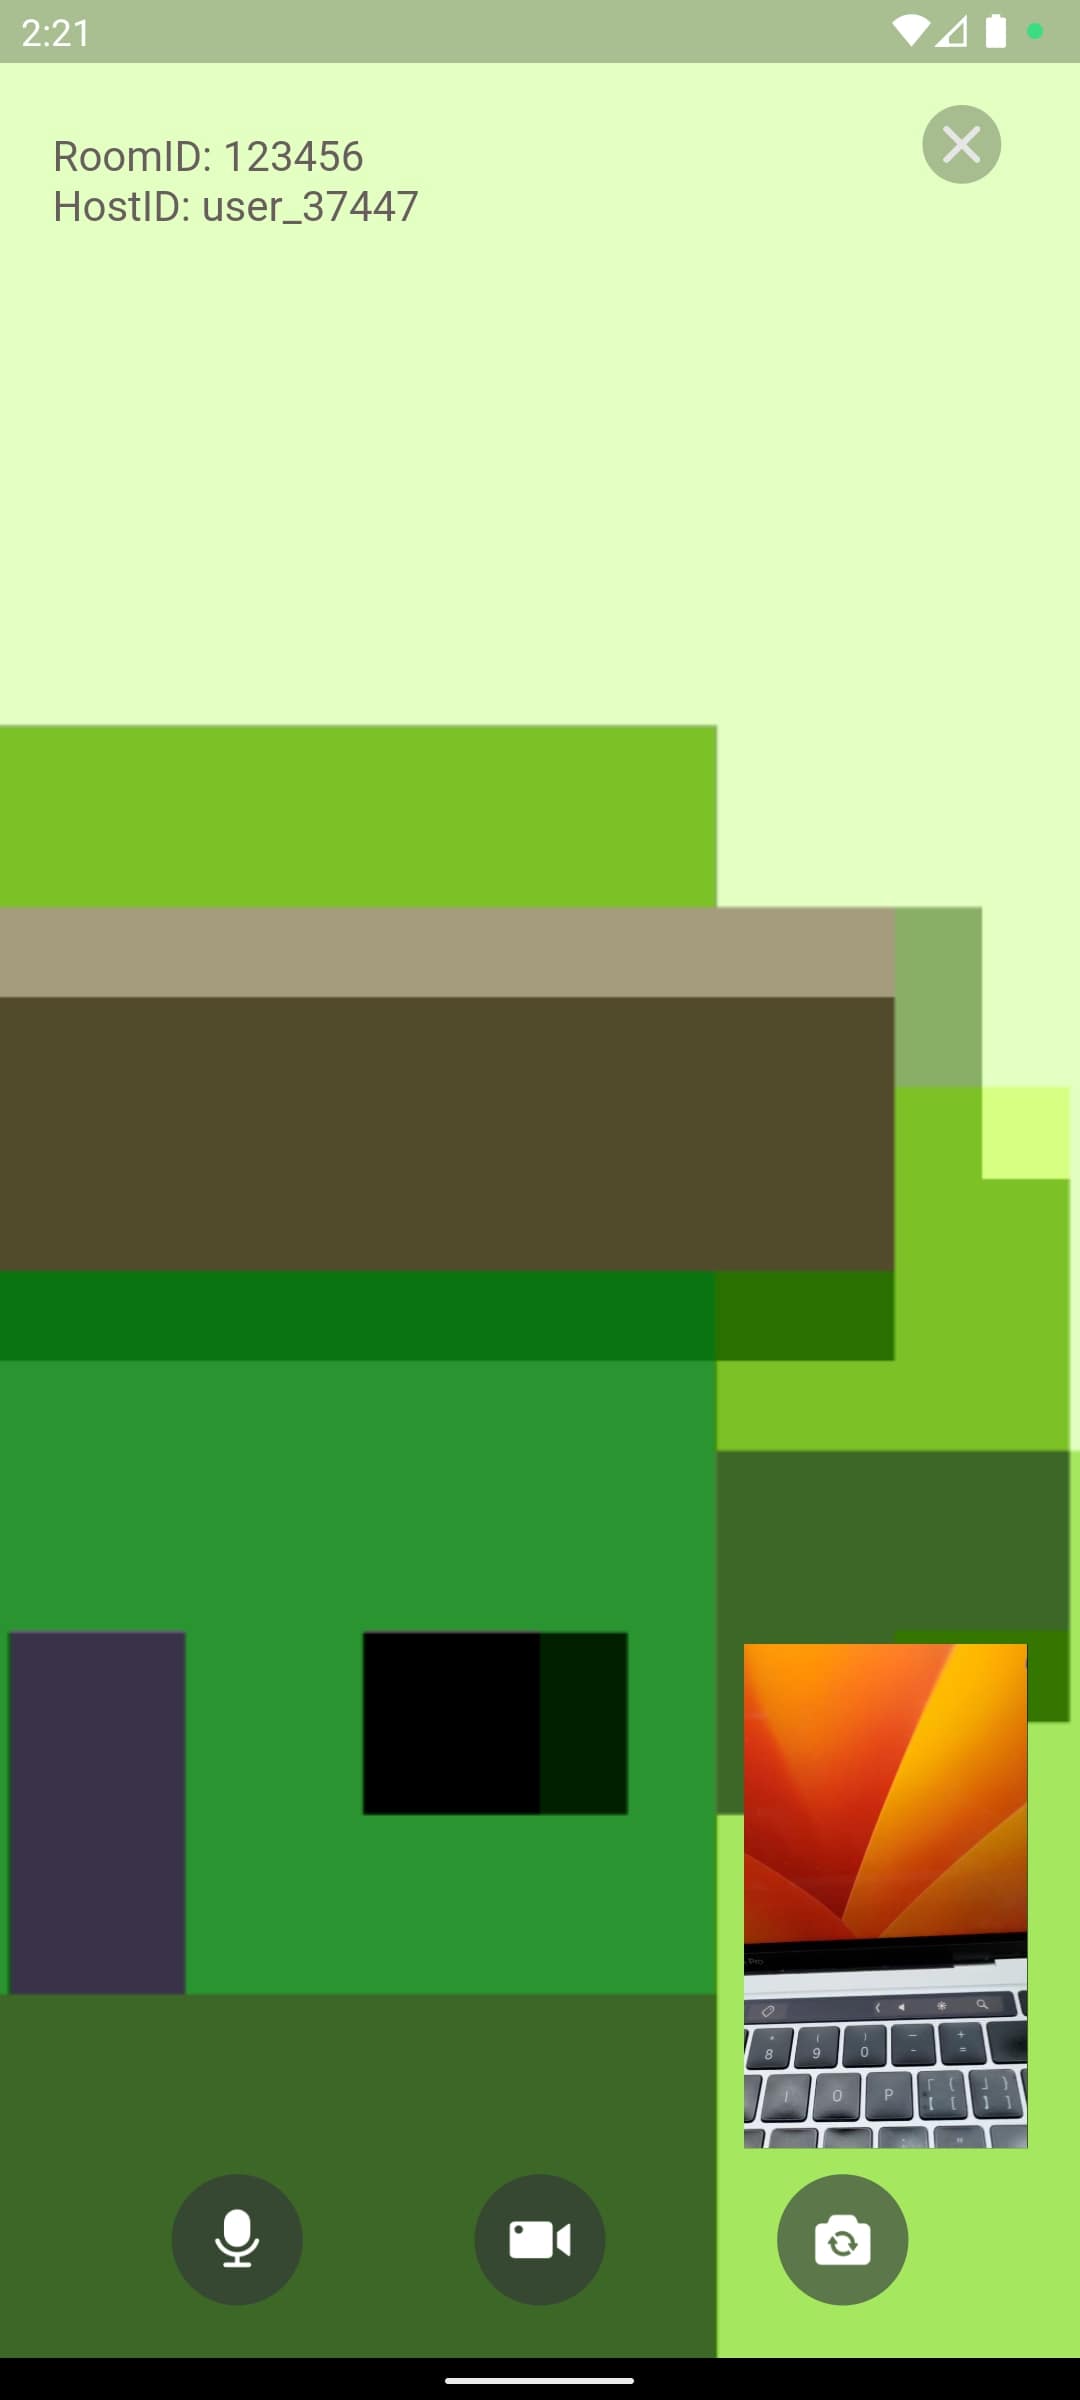
You can achieve the following effect with the demo provided in this doc:
| Homepage | Live stream page | Receive co-hosting request | Start co-hosting |
|---|---|---|---|
) |
) |
) |
) |
The process of co-hosting implemented based on roomrequest, roomrequest is a protocol or message to manage communication and connections in networks. ZEGOCLOUD packages all roomrequest capabilities into a SDK, providing you with a readily available real-time roomrequest API.
The ZIM SDK provides rich functionality for sending and receiving messages, see Send & Receive messages (roomrequest). And here, you will need to use the customizable roomrequest message: ZIMCommandMessage
Complete demo code for this section can be found at ZIMService.java.
(1) Send RoomRequest (ZIMCommandMessage) in the room by calling sendMessage with the following:
zim.sendMessage(commandMessage, mRoomID, ZIMConversationType.ROOM, config, new ZIMMessageSentCallback() {
    // ...
    @Override
    public void onMessageSent(ZIMMessage message, ZIMError errorInfo) {
        // ...
    }
});
(2) After sending, other users in the room will receive the RoomRequest from the onReceiveRoomMessage callback. You can listen to this callback by following below:
zim.setEventHandler(new ZIMEventHandler() {
    @Override
    public void onReceiveRoomMessage(ZIM zim, ArrayList<ZIMMessage> messageList, String fromRoomID) {
        super.onReceiveRoomMessage(zim, messageList, fromRoomID);

        // ...
    }
});Complete demo code for this section can be found at ZIMService.java and RoomRequest.java.
JSON RoomRequest encoding
Since a simple String itself is difficult to express complex information, RoomRequest can be encapsulated in JSON format, making it more convenient for you to organize the protocol content of the RoomRequest.
Taking the simplest JSON RoomRequest as an example: {"action_type": 10000}, in such a JSON RoomRequest, you can use the action_type field to express different RoomRequest types, such as:
{"action_type": RoomRequestAction.ACTION_REQUEST}{"action_type": RoomRequestAction.ACTION_CANCEL}{"action_type": RoomRequestAction.ACTION_ACCEPT}{"action_type": RoomRequestAction.ACTION_REJECT}In addition, you can also extend other common fields for RoomRequest, such as senderID , receiverID,extended_data :
public class RoomRequest {

    // ...
    public String toString() {
        JSONObject jsonObject = new JSONObject();
        try {
            jsonObject.put("action_type", actionType);
            jsonObject.put("sender_id", sender);
            jsonObject.put("receiver_id", receiver);
            jsonObject.put("extended_data", extendedData);
            jsonObject.put("request_id", requestID);
        } catch (JSONException e) {
            throw new RuntimeException(e);
        }
        return jsonObject.toString();
    }

    // ...
}

public @interface RoomRequestAction {
    int ACTION_REQUEST = 0;
    int ACTION_ACCEPT = 1;
    int ACTION_REJECT = 2;
    int ACTION_CANCEL = 3;
}
JSON RoomRequest decoding
And users who receive RoomRequest can decode the JSON RoomRequest and know and process specific business logic based on the fields in it, such as:
zim.setEventHandler(new ZIMEventHandler() {
    @Override
    public void onReceiveRoomMessage(ZIM zim, ArrayList<ZIMMessage> messageList, String fromRoomID) {
        super.onReceiveRoomMessage(zim, messageList, fromRoomID);

        for (ZIMMessage zimMessage : messageList) {
            if (zimMessage instanceof ZIMCommandMessage) {
                ZIMCommandMessage commandMessage = (ZIMCommandMessage) zimMessage;
                String message = new String(commandMessage.message, StandardCharsets.UTF_8);
                try {
                    JSONObject jsonObject = new JSONObject(message);
                    if (jsonObject.has("action_type")) {
                        jsonObject.put("message_id", String.valueOf(commandMessage.getMessageID()));
                        if (currentUser != null) {
                            onReceiveRoomRequestMessage(jsonObject);
                        }
                    } else {
                        // ...
                    }
                } catch (JSONException e) {
                     // ...
                }
            }
        }
    }
    // ...
)

// ...
private void onReceiveRoomRequestMessage(JSONObject jsonObject) throws JSONException {
    String sender = jsonObject.getString("sender_id");
    String receiver = jsonObject.getString("receiver_id");
    int actionType = jsonObject.getInt("action_type");
    String extendedData = jsonObject.getString("extended_data");
    String messageID = jsonObject.getString("message_id");
    if (currentUser.userID.equals(receiver)) {
        if (actionType == RoomRequestAction.ACTION_REQUEST) {
            // ...
        } else if (actionType == RoomRequestAction.ACTION_ACCEPT) {
            // ...
        } else if (actionType == RoomRequestAction.ACTION_CANCEL) {
            // ...
        } else if (actionType == RoomRequestAction.ACTION_REJECT) {
            // ...
        }
    }
}
Further extending RoomRequest
Based on this pattern, when you need to do any protocol extensions in your business, you only need to extend the extended_data field of the RoomRequest to easily implement new business logic, such as:
Friendly reminder: After reading the following text and further understanding the implementation of co-hosting RoomRequest, you will be able to easily extend your live streaming business RoomRequest.
The demo in this document is a pure client API + ZEGOCLOUD solution. If you have your own business server and want to do more logical extensions, you can use our Server API to pass RoomRequest and combine your server's room business logic to increase the reliability of your app.
sequenceDiagram
    participant Alice
    participant appServer as App Server
    participant server as ZEGOCLOUD Server
    participant sdk as SDK
    participant Bob

    Alice  ->> appServer  : Send co-hosting request
    appServer   ->> appServer  : Process your own business logic
    appServer   ->> server: Alice's co-hosting request
    server ->> sdk  : Alice's co-hosting request
    sdk   ->> Bob   : Alice's co-hosting request


    Note over Alice, Bob: ...
If you have not used the ZIM SDK before, you can read the following section:
To import the ZIM SDK, do the following:
Set up repositories.
If your Android Gradle Plugin is v7.1.0 or later: go to the root directory of your project, open the settings.gradle file, and add the following line to the dependencyResolutionManagement:
...
dependencyResolutionManagement {
    repositoriesMode.set(RepositoriesMode.FAIL_ON_PROJECT_REPOS)
    repositories {
        maven { url 'https://storage.zego.im/maven' }
        mavenCentral()
        google()
    }
}
If you can not find the above fields in settings.gradle, it's probably because your Android Gradle Plugin version is lower than v7.1.0.
For more details, see Android Gradle Plugin Release Note v7.1.0.
If your Android Gradle Plugin is earlier than 7.1.0: go to the root directory of your project, open the build.gradle file, and add the following line to the allprojects:
...
allprojects {
    repositories {
        maven { url 'https://storage.zego.im/maven' }
        mavenCentral()
        google()
    }
}
Declare dependencies:
Go to the app directory, open the build.gradle file, and add the following line to the dependencies. (x.y.z is the SDK version number, to obtain the latest version number, see Release Notes.
...
dependencies {
    ...
    implementation 'im.zego:zim:x.y.z'
}After successful integration, you can use the Zim SDK like this:
import im.zego.zim.ZIMCreating a ZIM instance is the very first step, an instance corresponds to a user logging in to the system as a client.
ZIMAppConfig appConfig = new ZIMAppConfig();
appConfig.appID = yourAppID;
appConfig.appSign = yourAppSign;
ZIM.create(appConfig, application);
Later on, we will provide you with detailed instructions on how to use the ZIM SDK to develop the call invitation feature.
In most cases, you need to use multiple SDKs together. For example, in the live streaming scenario described in this doc, you need to use the zim sdk to implement the co-hosting feature, and then use the zego_express_engine sdk to implement the live streaming feature.
If your app has direct calls to SDKs everywhere, it can make the code difficult to manage and troubleshoot. To make your app code more organized, we recommend the following way to manage these SDKs:
Create a ZIMService class for the zim sdk, which manages the interaction with the SDK and stores the necessary data. Please refer to the complete code in ZIMService.java.
public class ZIMService {

    // ...

    public void initSDK(Application application, long appID, String appSign) {
        zimProxy.create(application, appID, appSign);
        // ...
    }
}

class ZIMProxy {

    private SimpleZIMEventHandler zimEventHandler;

    public void create(Application application, long appID, String appSign) {
        ZIMAppConfig zimAppConfig = new ZIMAppConfig();
        zimAppConfig.appID = appID;
        zimAppConfig.appSign = appSign;
        ZIM.create(zimAppConfig, application);

        zimEventHandler = new SimpleZIMEventHandler();
        if (getZIM() != null) {
            ZIM.getInstance().setEventHandler(zimEventHandler);
        }
    }

}
Similarly, create an ExpressService class for the zego_express_engine sdk, which manages the interaction with the SDK and stores the necessary data. Please refer to the complete code in ExpressService.java.
public class ExpressService {

    // ...
    public void initSDK(Application application, long appID, String appSign, ZegoScenario scenario) {
        ZegoEngineConfig config = new ZegoEngineConfig();
        config.advancedConfig.put("notify_remote_device_unknown_status", "true");
        config.advancedConfig.put("notify_remote_device_init_status", "true");
        ZegoExpressEngine.setEngineConfig(config);
        engineProxy.createEngine(application, appID, appSign, scenario);
        // ...
    }
}

class ExpressEngineProxy {

    private SimpleExpressEventHandler expressEventHandler;

    public void createEngine(Application application, long appID, String appSign, ZegoScenario scenario) {
        ZegoEngineProfile profile = new ZegoEngineProfile();
        profile.appID = appID;
        profile.appSign = appSign;
        profile.scenario = scenario;
        profile.application = application;
        expressEventHandler = new SimpleExpressEventHandler();
        ZegoExpressEngine.createEngine(profile, expressEventHandler);
    }
}
With the service, you can add methods to the service whenever you need to use any SDK interface.
E.g., easily add the connectUser method to the ZIMService when you need to implement login:
public class ZIMService {
    // ...
    public void connectUser(String userID, String userName, ZIMLoggedInCallback callback) {
        ZIMUserInfo zimUserInfo = new ZIMUserInfo();
        zimUserInfo.userID = userID;
        zimUserInfo.userName = userName;
        zim.login(zimUserInfo, new ZIMLoggedInCallback() {
            @Override
            public void onLoggedIn(ZIMError errorInfo) {
                // ...
            }
        });
    }
}As shown below. Please refer to the complete code in ZEGOSDKManager.java.
public class ZEGOSDKManager {
    public ExpressService expressService = new ExpressService();
    public ZIMService zimService = new ZIMService();

    private static final class Holder {
        private static final ZEGOSDKManager INSTANCE = new ZEGOSDKManager();
    }

    public static ZEGOSDKManager getInstance() {
        return Holder.INSTANCE;
    }

    public void initSDK(Application application, long appID, String appSign,ZegoScenario scenario) {
        expressService.initSDK(application, appID, appSign,scenario);
        zimService.initSDK(application, appID, appSign);
    }
}
In this way, you have implemented a singleton class that manages the SDK services you need. From now on, you can get an instance of this class anywhere in your project and use it to execute SDK-related logic, such as:
ZEGOSDKManager.getInstance().initSDK(application,appID,appSign); ZEGOSDKManager.getInstance().connectUser(userID,userName,callback);Later, we will introduce how to add call invitation feature based on this.
Later, we will introduce how to add co-hosting feature based on this.
The implementation of sending and canceling co-hosting requests is similar, with only the type of RoomRequest being different. Here, sending will be used as an example to explain the implementation of the demo.
In the Demo, a request co-host button has been placed in the lower right corner of the LivePage as seen from the audience perspective. When the button is clicked, the following actions will be executed.
action_type is defined as RoomRequestAction.ACTION_REQUEST in the demo.sendRoomRequest to send the RoomRequest. (sendRoomRequest simplifies the sendMessage interface of ZIM SDK.)Request Co-host button will switch to Cancel CoHost.@Override
protected void afterClick() {
super.afterClick();
// ...
RoomRequestExtendedData extendedData = new RoomRequestExtendedData();
extendedData.roomRequestType = RoomRequestType.REQUEST_COHOST;
ZEGOSDKManager.getInstance().zimService.sendRoomRequest(hostUser.userID, jsonObject.toString(),
new RoomRequestCallback() {
@Override
public void onRoomRequestSend(int errorCode, String requestID) {
if (errorCode == 0) {
mRoomRequestID = requestID;
}
}
});
// ...
}
public void sendRoomRequest(String receiverID, String extendedData, RoomRequestCallback callback) {
if (zimProxy.getZIM() == null || currentRoom == null || currentUser == null) {
return;
}
RoomRequest roomRequest = new RoomRequest();
roomRequest.receiver = receiverID;
roomRequest.sender = currentUser.userID;
roomRequest.extendedData = extendedData;
roomRequest.actionType = RoomRequestAction.ACTION_REQUEST;
byte[] bytes = roomRequest.toString().getBytes(StandardCharsets.UTF_8);
ZIMCommandMessage commandMessage = new ZIMCommandMessage(bytes);
zimProxy.sendMessage(commandMessage, currentRoom.roomID, ZIMConversationType.ROOM, new ZIMMessageSendConfig(),
new ZIMMessageSentCallback() {
@Override
public void onMessageAttached(ZIMMessage message) {
}
@Override
public void onMessageSent(ZIMMessage message, ZIMError errorInfo) {
if (errorInfo.code == ZIMErrorCode.SUCCESS) {
roomRequest.requestID = String.valueOf(message.getMessageID());
roomRequestMap.put(roomRequest.requestID, roomRequest);
}
// ...
}
});
}
public void updateUI() {
ZEGOSDKUser localUser = ZEGOSDKManager.getInstance().expressService.getCurrentUser();
ZIMService zimService = ZEGOSDKManager.getInstance().zimService;
if (ZEGOLiveStreamingManager.getInstance().isCoHost(localUser.userID)) {
coHostUI();
} else if (ZEGOLiveStreamingManager.getInstance().isAudience(localUser.userID)) {
RoomRequest roomRequest = zimService.getRoomRequestByRequestID(mRoomRequestID);
if (roomRequest == null) {
audienceUI();
} else {
requestCoHostUI();
}
}
}The relevant code snippet is as follows, and the complete code can be found in RoomRequestButton.java and RoomRequestListAdapter
// ...
@Override
public void onInComingRoomRequestReceived(RoomRequest request) {
    checkRedPoint();
}

private void showRedPoint() {
    redPoint.setVisibility(View.VISIBLE);
}

private void hideRedPoint() {
    redPoint.setVisibility(View.GONE);
}

public void checkRedPoint() {
    ZEGOSDKUser localUser = ZEGOSDKManager.getInstance().expressService.getCurrentUser();
    if (ZEGOLiveStreamingManager.getInstance().isHost(localUser.userID)) {
        List<RoomRequest> myReceivedRoomRequests = ZEGOSDKManager.getInstance().zimService.getMyReceivedRoomRequests();
        boolean showRedPoint = false;
        for (RoomRequest roomRequest : myReceivedRoomRequests) {
            String extendedData = roomRequest.extendedData;
            RoomRequestExtendedData data = RoomRequestExtendedData.parse(extendedData);
            if (data != null && data.roomRequestType == roomRequestType) {
                showRedPoint = true;
                break;
            }
        }
        if (showRedPoint) {
            showRedPoint();
        } else {
            hideRedPoint();
        }
    }
}@Override
public void onBindViewHolder(@NonNull ViewHolder holder, int position) {
// ...
agree.setOnClickListener(v -> {
ZEGOSDKManager.getInstance().zimService.acceptRoomRequest(roomRequest.requestID, new RoomRequestCallback() {
@Override
public void onRoomRequestSend(int errorCode, String requestID) {
}
});
});
disagree.setOnClickListener(v -> {
ZEGOSDKManager.getInstance().zimService.rejectRoomRequest(roomRequest.requestID, new RoomRequestCallback() {
@Override
public void onRoomRequestSend(int errorCode, String requestID) {
}
});
});
}The logic after starting co-hosting is the same as Implementation. If you are not familiar with how to publish and play streams and render them, refer to Implementation.
When the audience receives the RoomRequest that the host agrees to co-host, they can become a co-host and start co-host live streaming by calling related methods of zego_express_engine for previewing and publishing streams.
Complete code can be found in LiveStreamingActivity.java and ExpressService.java.
public class LiveStreamingActivity extends AppCompatActivity {
    // ...
    @Override
    public void onOutgoingRoomRequestAccepted(RoomRequest request) {
        RoomRequestExtendedData data = RoomRequestExtendedData.parse(extendedData);
        if (data != null && data.roomRequestType == RoomRequestType.REQUEST_COHOST) {
            ExpressService expressService = ZEGOSDKManager.getInstance().expressService;
            ZEGOSDKUser currentUser = expressService.getCurrentUser();
            if (ZEGOLiveStreamingManager.getInstance().isAudience(currentUser.userID)) {
                List<String> permissions = Arrays.asList(permission.CAMERA, permission.RECORD_AUDIO);
                requestPermissionIfNeeded(permissions, new RequestCallback() {

                    @Override
                    public void onResult(boolean allGranted, @NonNull List<String> grantedList,
                        @NonNull List<String> deniedList) {
                        ZEGOLiveStreamingManager.getInstance().startCoHost();
                    }
                });
            }
        }
    }
    // ...
}After the audience ends co-hosting, they need to call relevant methods of zego_express_engine to stop previewing and publishing streams. The complete code can be found in the CoHostButton.java. And the key code is as follows:
public void endCoHost() {
    removeCoHost(ZEGOSDKManager.getInstance().expressService.getCurrentUser());
    ZEGOSDKManager.getInstance().expressService.openMicrophone(false);
    ZEGOSDKManager.getInstance().expressService.openCamera(false);
    ZEGOSDKManager.getInstance().expressService.stopPreview();
    ZEGOSDKManager.getInstance().expressService.stopPublishingStream();
}
Resolution And Pricing Attention!
Please pay close attention to the relationship between video resolution and price when implementing video call, live streaming, and other video scenarios.
When playing multiple video streams in the same room, the billing will be based on the sum of the resolutions, and different resolutions will correspond to different billing tiers.
The video streams that are included in the calculation of the final resolution are as follows:
Before your app goes live, please make sure you have reviewed all configurations and confirmed the billing tiers for your business scenario to avoid unnecessary losses. For more details, please refer to Pricing.
Congratulations! Hereby you have completed the development of the co-hosting feature.
If you have any suggestions or comments, feel free to share them with us via Discord. We value your feedback.
