提交工单
咨询集成、功能及报价等问题
Our Flutter MiniGame Solution is based on MiniGame Web JS SDK. The Flutter solution relies on the flutter_inappwebview plugin to achieve interaction with JS and HTML.
Our demo has currently completed the basic integration process examples, including HTML coding, Dart and HTML interaction encapsulation, etc. If you need to implement more game features, you will need to refer to the implementation method in the demo and expand it yourself. This may require you to read the demo code to understand the interaction between JS, HTML, and Dart.
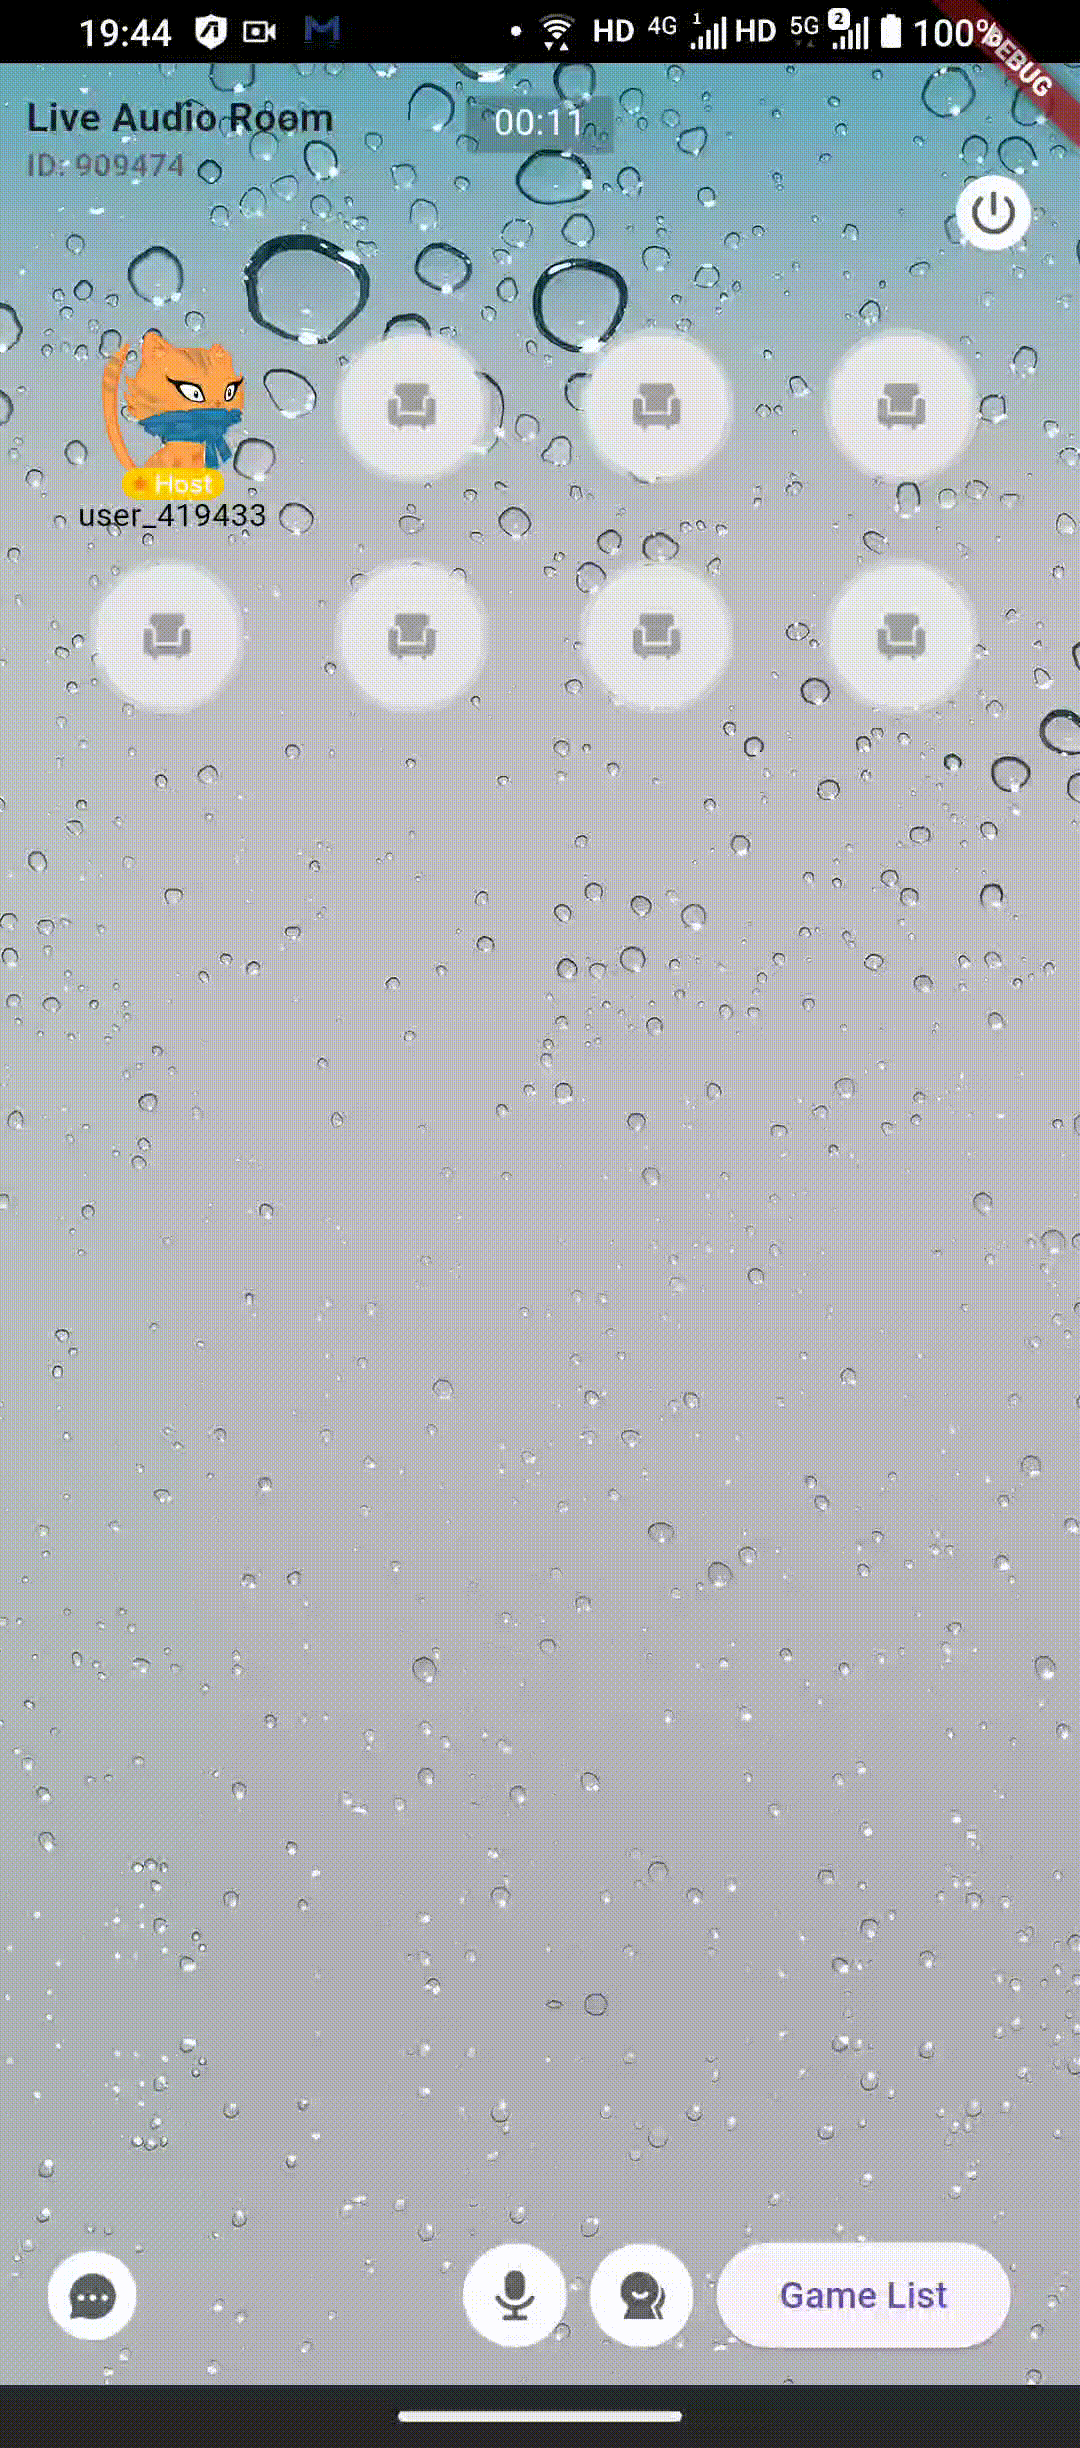
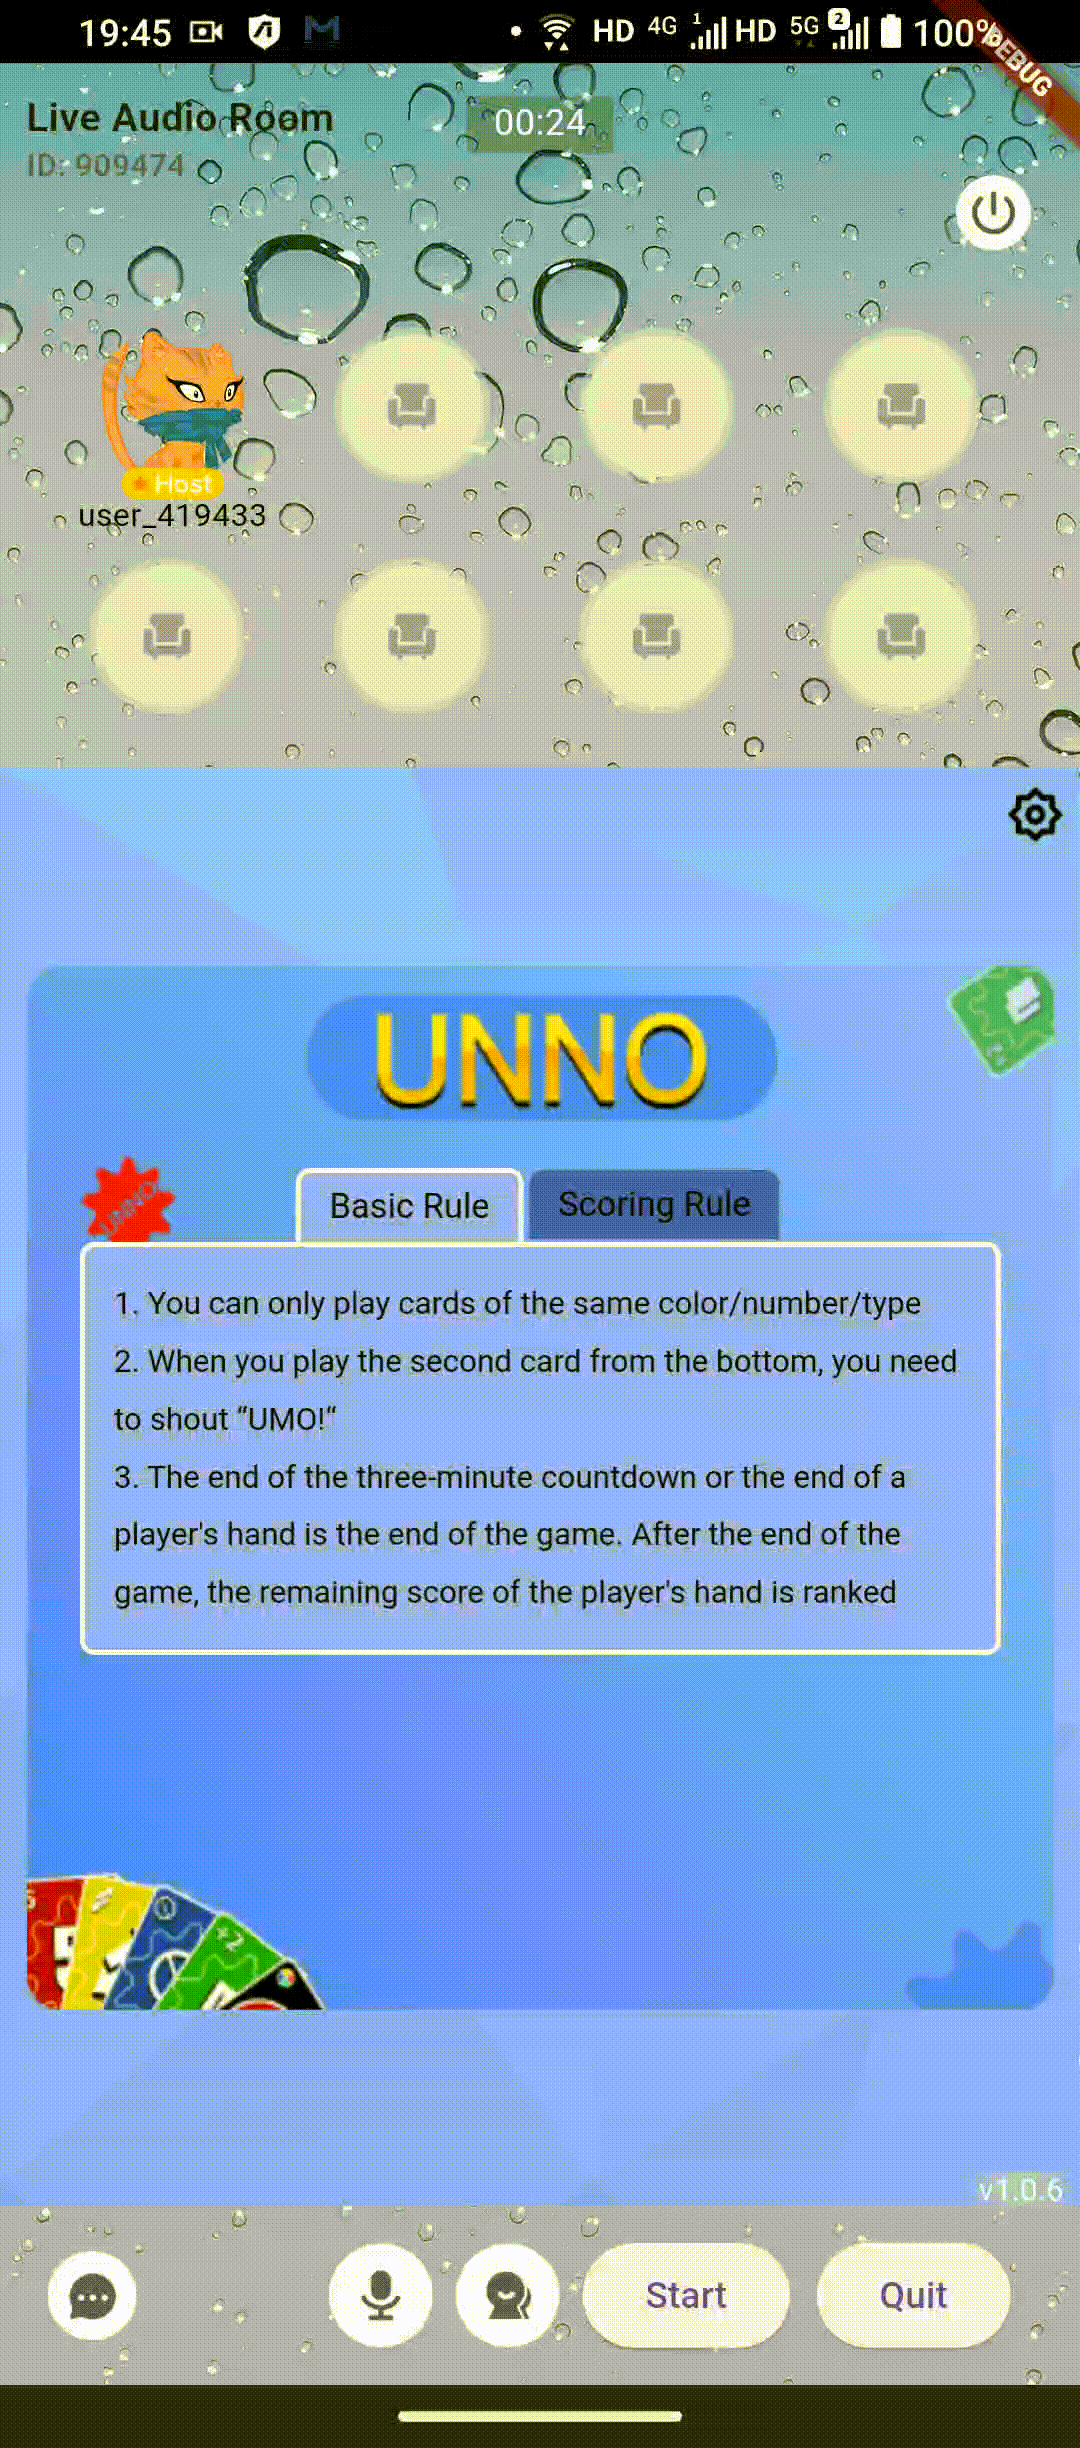
| Game List | Start The Game | In The Game |
|---|---|---|
) |
) |
) |
Dear user,
Before you proceed with the Demo code, we urge you to read the following disclaimer thoroughly. This code is purely for reference and learning. Please be aware that any risks arising from the use of this code lie solely with the user. The author will not be held accountable for any loss or risk incurred.
The potential security risks include:
Users should:
Please ensure you fully comprehend and accept all risks and disclaimers before using this code. The author will not be accountable for any issues that arise from the use of this code. If you disagree with any part of this disclaimer, please refrain from using the code.
Copy the ./assets/minigame and ./lib/minigame folders from the Demo to your project.
)
pubspec.yaml file.assets:
- assets/minigame/index.js
- assets/minigame/index.htmlflutter pub add flutter_inappwebview dio encryptZegoMiniGame SDK and render the mini-game UI.After integrating flutter_inappwebview, you can use InAppWebView to render the mini-game UI and initialize the ZegoMiniGame. You can use InAppWebView anywhere you need it.
In the demo, we render the game as a full-screen game. You can adjust the size of the InAppWebView as you like to achieve different display effects, such as a half-screen game.
You can refer to this part of the code
Please note that:
ZegoMiniGame().initWebViewController(controller) in the onWebViewCreated of InAppWebView.YourGameServer().getToken and ZegoMiniGame().initGameSDK() in the onWebViewCreated of InAppWebView.With these two steps, you can complete the initialization of ZegoMiniGame SDK.
When you no longer need the ZegoMiniGame SDK, you need to use WillPopScope to destroy the ZegoMiniGame SDK before exiting the page.
Notice: This portion of code should not be placed in the
disposeof widget. Because destroying theZegoMiniGameSDK depends onInAppWebView, and when the widget is disposed,InAppWebViewhas already been destroyed.
Widget build(BuildContext context) {
  return PopScope(
    onPopInvoked: (bool didPop) async {
      if(didPop){
        await ZegoMiniGame().unloadGame();
        await ZegoMiniGame().uninitGameSDK();
        await ZegoMiniGame().uninitWebViewController();
      }
    },
    child: YourPage(),
  );
}After ensuring the initialization of ZegoMiniGame, you can use ZegoMiniGame().getAllGameList() to get the game list and render it in the UI.
You can check the complete demo code for this part here.
Future<dynamic> showGameListView(BuildContext context, String userID) {
  return showModalBottomSheet(context: context,
    builder: (context) {
      return SingleChildScrollView(
        child: Container(
          color: Colors.white,
          padding: const EdgeInsets.all(5),
          child: Column(
            crossAxisAlignment: CrossAxisAlignment.start,
            children: [
              const Text('GameList', style: TextStyle(fontSize: 22, fontWeight: FontWeight.w600)),
              const SizedBox(height: 5),
              ValueListenableBuilder(
                // Get Game List
                valueListenable: ZegoMiniGame().getAllGameList(),
                builder: (BuildContext context, List<dynamic> gameList, Widget? child) {
                  // RENDER THE GAME LIST HERE
                },
              ),
            ],
          ),
        ),
      );
    },
  );
}Before starting the game:
YourGameServer().exchangeUserCurrency to exchange game coins for the user.YourGameServer().getUserCurrency to query the current amount of game coins for the user.Demo will call these two methods every time it enters the game, please refer to here. You need to adjust the specific logic of Currency according to your own needs.
After obtaining the game list, you can load the game by using ZegoMiniGame().loadGame().
In addition, you can obtain the state of the 'loadGame' through
ZegoMiniGame().loadedStateNotifier.
Future<void> loadGame(String gameID) async {
  try {
    await ZegoMiniGame().loadGame(
      gameID: gameID,
      gameMode: ZegoGameMode.inroom,
      loadGameConfig: ZegoLoadGameConfig(
        minGameCoin: 0,
        roomID: roomID,
        useRobot: true,
      ),
    );
    debugPrint('[APP]loadGame: $gameID');
    currentGameID = gameID;
    // ...
    // your logic here
    // ...
  } catch (e) {
    ScaffoldMessenger.of(navigatorKey.currentContext!).showSnackBar(SnackBar(content: Text('$e')));
  }
}
You can check the complete demo code for this part here.
If the game mode is in-room game (please refer to GameMode for details), the host needs to use the startGame method to select other users in the room to play the game together. Additionally, if there are not enough players, the host can use this method to add robots to play the game together.
Future<void> startGame(List<String> playWithUserID) async {
  final gameInfo = ZegoMiniGame().getAllGameList().value.firstWhere((e) => e.miniGameId == currentGameID!);
  final gameMaxPlayer = gameInfo.detail!.player.reduce(max);
  await ZegoMiniGame().startGame(
    playerList: [
      ...playWithUserID.asMap().entries.map((e) => ZegoPlayer(seatIndex: e.key, userID: e.value)),
    ],
    robotList: playWithUserID.length < gameMaxPlayer
        ? List.generate(
            gameMaxPlayer - playWithUserID.length,
            (index) => ZegoGameRobot(
              robotAvatar: 'https://robohash.org/${Random().nextInt(1000000)}.png',
              seatIndex: playWithUserID.length + index,
              robotName: faker.person.name(),
              robotCoin: 1000,
            ),
          )
        : [],
    gameConfig: ZegoStartGameConfig(
      taxRate: 0,
      minGameCoin: 0,
      timeout: 60,
      taxType: ZegoTaxType.winnerDeduction,
    ),
  );
}
You can check the complete demo code for this part here.
unloadGame is used to quit the game.
await ZegoMiniGame().unloadGame();Only when the game mode is in-room game (please refer to GameMode for details) is it necessary to implement this feature.
ZegoUIKit().getSignalingPlugin().updateRoomProperty to update the property of the room, in order to inform other users in the room of the current game ID.Widget loadGameButton(BuildContext context) {
return ElevatedButton(
onPressed: () async {
showGameListView(context).then((ZegoGameInfo? gameInfo) async {
if (gameInfo != null) {
updateGameRoomAttributes(gameInfo.miniGameId!).then((result) async {
// ...
});
}
});
},
child: const Text('Game List'),
);
}ZegoUIKit().getSignalingPlugin().deleteRoomProperties to delete the property of the room, in order to inform other users in the room that the current game has ended.void onloadedStateUpdated() {
if (!ZegoMiniGame().loadedStateNotifier.value) {
if (isHost) {
deleteGameRoomAttributes();
} else {
// ...
}
}
}ZegoUIKit().getSignalingPlugin().getRoomPropertiesStream() to listen for the update event of the room's property, and rely on this to synchronize with the host to either load or unload the game.void onGameRoomAttributesUpdated(
ZegoSignalingPluginRoomPropertiesUpdatedEvent propertiesData,
) {
if (propertiesData.setProperties.containsKey(attributeKeyRoomGame)) {
final gameID = propertiesData.setProperties[attributeKeyRoomGame]!;
ZegoLoggerService.logInfo('onGameRoomAttributesUpdated, loadGame: $gameID', tag: 'APP', subTag: 'minigame');
final gameList = ZegoMiniGame().getAllGameList();
if (gameList.value.where((e) => e.miniGameId == gameID).isEmpty) {
void onGameListUpdate() {
if (gameList.value.where((e) => e.miniGameId == gameID).isNotEmpty) {
gameList.removeListener(onGameListUpdate);
loadGame(gameID);
}
}
gameList.addListener(onGameListUpdate);
} else {
// If a player or audience clicks the close button in the game and unloads the game,
// but the game is still ongoing in the room, the game will automatically reload here.
loadGame(gameID);
}
}
if (propertiesData.deleteProperties.containsKey(attributeKeyRoomGame)) {
ZegoLoggerService.logInfo('onGameRoomAttributesUpdated, unloadGame', tag: 'APP', subTag: 'minigame');
unloadGame();
}
}LiveAudioRoomKit seats?Only when the game mode is in-room game (please refer to GameMode for details) is it necessary to implement this feature.
userMapNotifier in ZegoUIKitPrebuiltLiveAudioRoomController().seat.ZegoUIKitPrebuiltLiveAudioRoom(
appID: yourAppID /*input your AppID*/,
appSign: yourAppSign /*input your AppSign*/,
userID: widget.userID,
userName: widget.userName,
roomID: widget.roomID,
config: (widget.isHost ? hostConfig : audienceConfig)
),
// ...
// get the seats user map notifier
final userListNotifier = ZegoUIKitPrebuiltLiveAudioRoomController().seat.userMapNotifier;ValueListenableBuilder can be used to synchronize the user list.You can check the complete demo code for this part here.
Congratulations! Hereby you have completed the development of minigame feature.
If you have any suggestions or comments, feel free to share them with us via Discord. We value your feedback.
You can listen to the game state by using ZegoMiniGame().gameStateNotifier.
You can check the complete demo code for this part here.
