提交工单
咨询集成、功能及报价等问题
Make sure your development environment meets the following requirements:
Launch Android Studio, and in the Welcome to Android Studio window, click Create New Project.
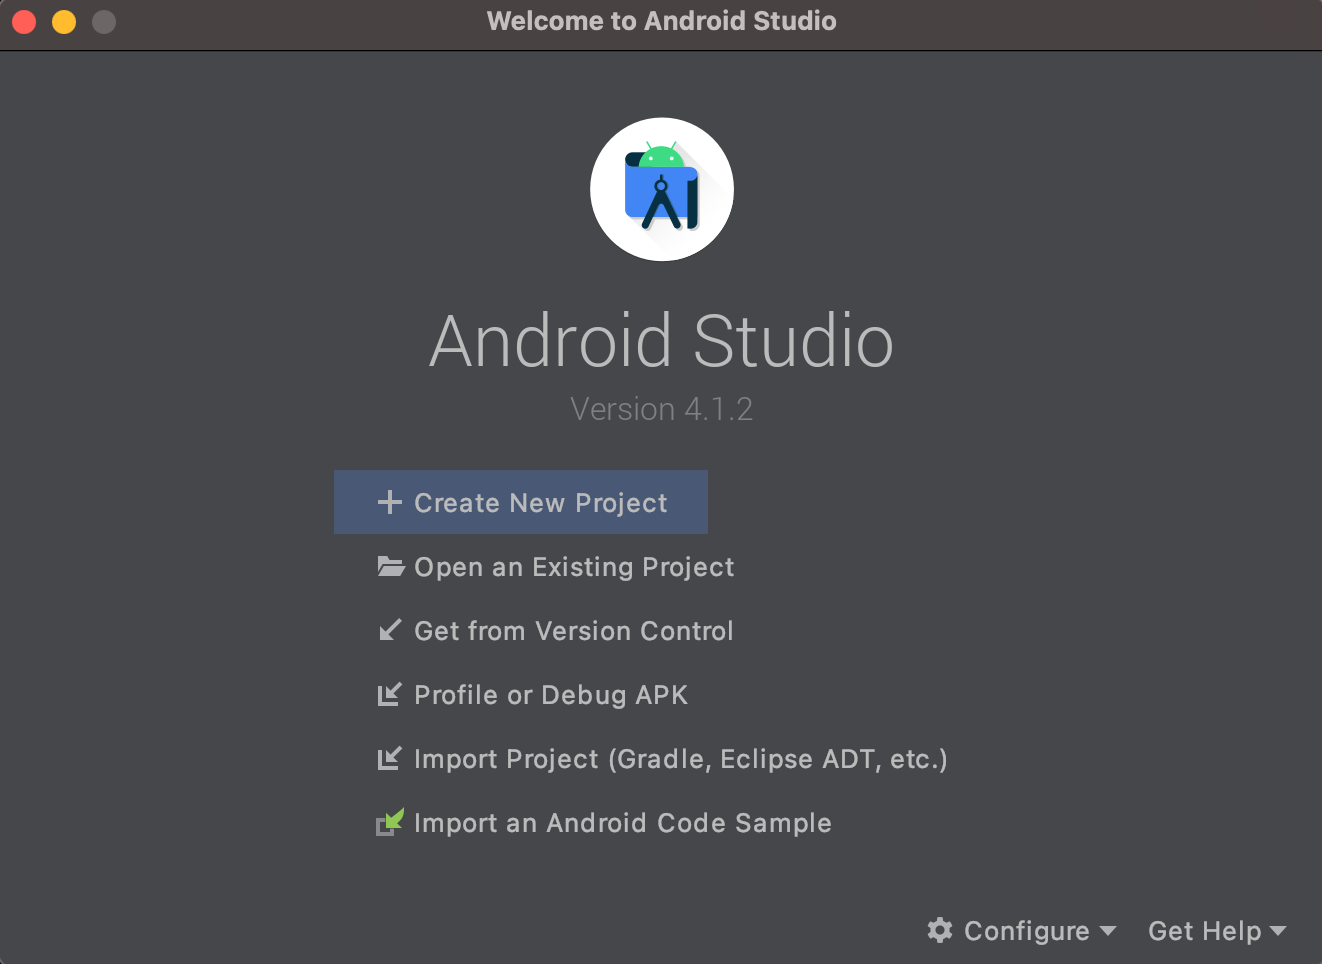)
If you have a project already opened, select File > New > New Project.
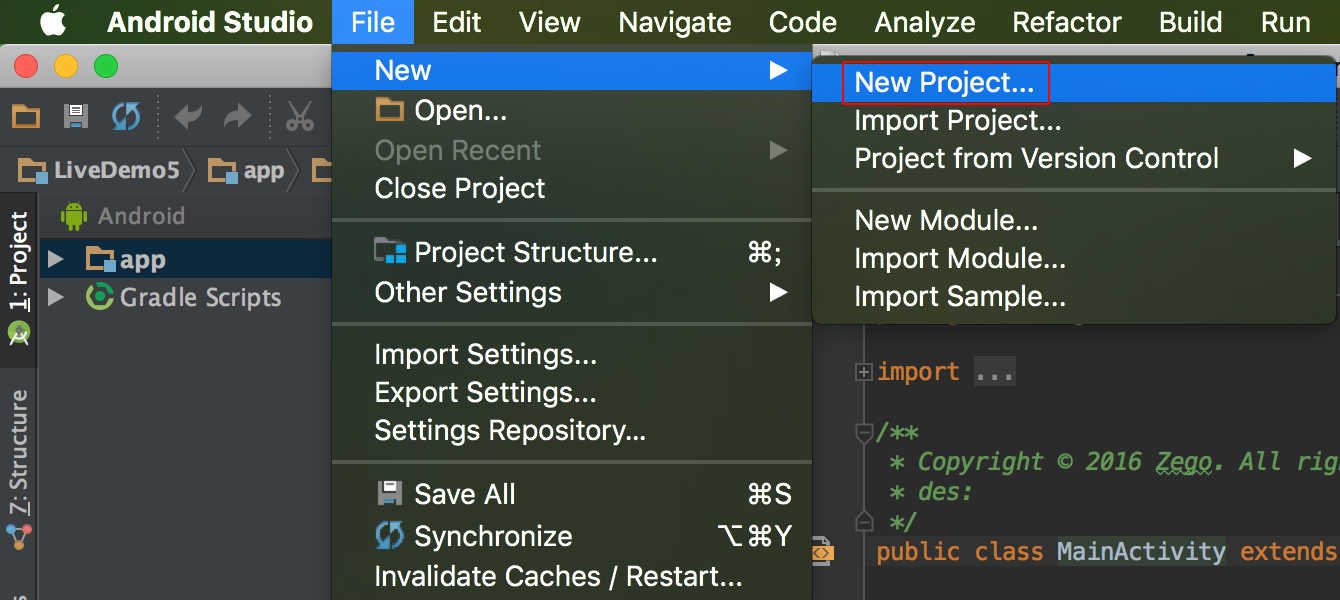)
In the Configure your project window, fill in the project name and the location to save the project.
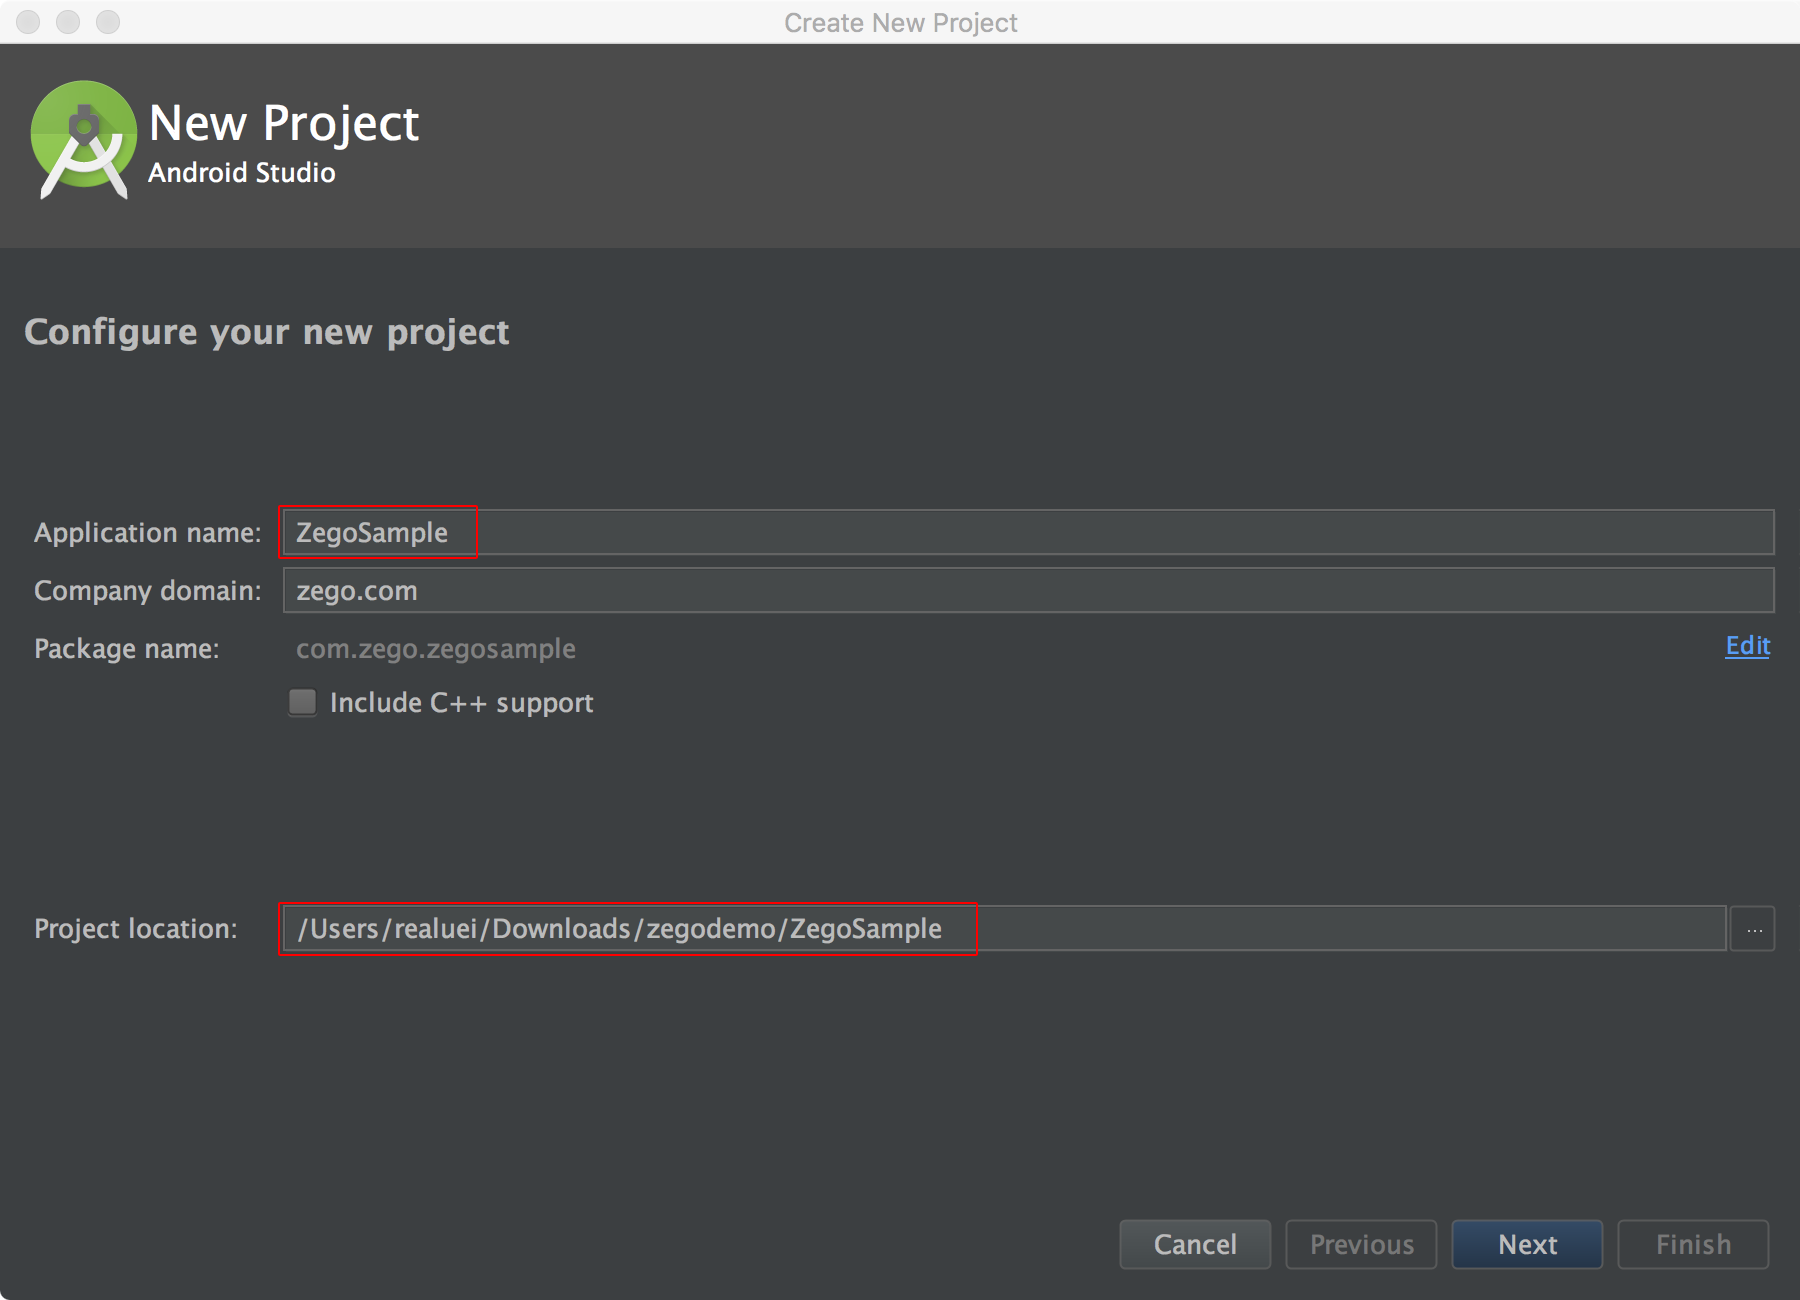)
Use the default settings for other fields, then click Next, and then click Finish to complete the project creation.
Currently, the SDK supports these Application Binary Interfaces (ABIs): arm64-v8a, armeabi-v7a, and x86_64.
To import the SDK, do the following:
Contact the ZEGO team to get the latest version of the SDK.
Extract the SDK package to your project directory, for example, app/libs.
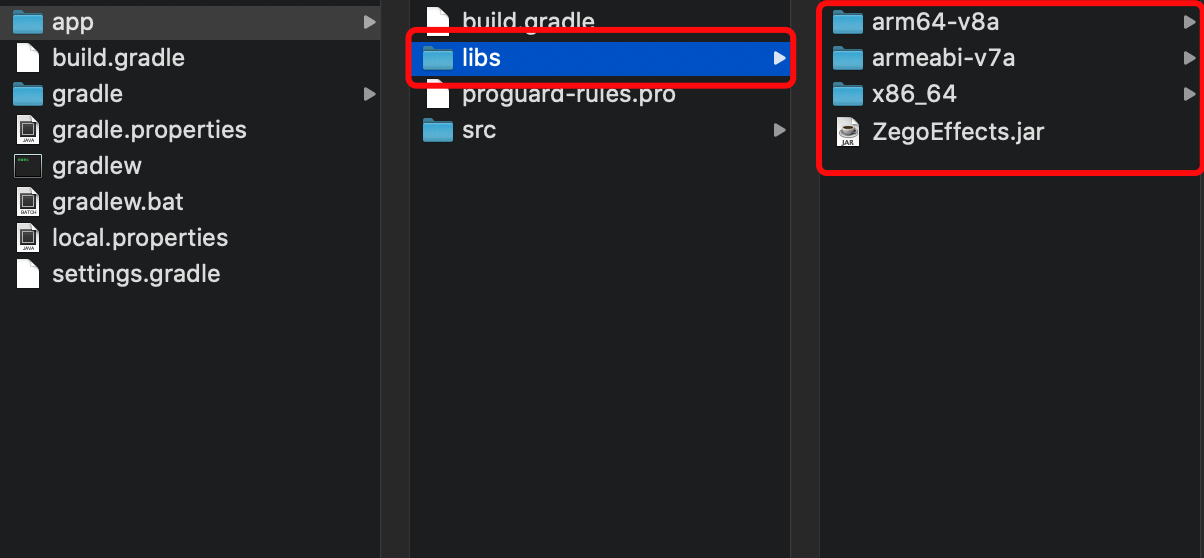)
Open the app/build.gradle file, and add references to the SDK.
In the defaultConfig block, add the ndk block to specify the supported ABIs.
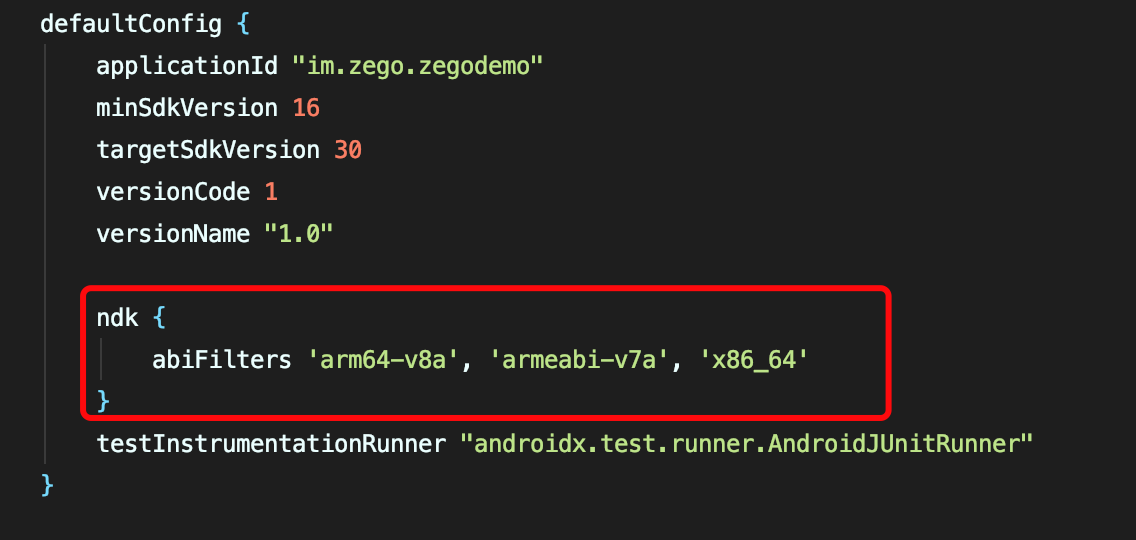)
ndk {
    abiFilters'armeabi-v7a','arm64-v8a','x86_64'
}
In the android block, add the sourceSets block to specify the directory where the SDK library files are located.
The libs directory in the following sample code is just an example. Use the actual path according to your project setup.
)
sourceSets {
    main {
        jniLibs.srcDirs = ['libs']
    }
}
In the dependencies block, add the following line to import all JAR files under the libs directory.
)
implementation fileTree(dir:'libs', include: ['*.jar'])Add the following permissions in the app/src/main/AndroidManifest.xml file for your app to access the devices according to your app's requirements.
For Android SDK versions 33 and above, OpenCL is not enabled by default, which means developers need to actively enable OpenCL if they wish to use it.
<!-- Required permissions for SDK -->
<uses-permission android:name="android.permission.CAMERA" />
<uses-permission android:name="android.permission.WRITE_EXTERNAL_STORAGE" />

<!-- Part of the permissions that App needs to use -->
<uses-permission android:name="android.permission.READ_PHONE_STATE" />


<uses-feature android:name="android.hardware.camera" />
<uses-feature android:name="android.hardware.camera.autofocus" />

<!-- For Android SDK 33 or higher, you need to execute this statement to enable OpenCL-->
<uses-library android:name="libOpenCL.so" android:required="false"/>
Request runtime permissions: Android 6.0 requires certain important permissions to be obtained at runtime. So, besides declaring permissions in your app's AndroidMainfest.xml file, you also need to add the following code to request the permissions at runtime.
Note: requestPermissions is a method of the Activity.
String[] permissionNeeded = {
    "android.permission.CAMERA"};

if (Build.VERSION.SDK_INT >= Build.VERSION_CODES.M) {
    if (ContextCompat.checkSelfPermission(this, "android.permission.CAMERA") != PackageManager.PERMISSION_GRANTED) {
        requestPermissions(permissionNeeded, 101);
    }
}In the proguard-rules.pro file, add the following line to prevent the classes of the ZegoEffects SDK from being obfuscated.
-keep class **.zego.**{*;}
